It's Throw Back Thursday! Here to a project I finished and posted last year. Hope you enjoy it and may you be inspired in your own garden.
Well, here we are in the middle of Spring and the flowers are blooming everywhere! I love it. The grass is green, the sun shines down upon us daily now, and Summer is just around the corner.
I've never been much of a gardener. I grew up in the "concrete jungles" of Los Angeles and as long as there was green grass and sandy beaches, life was fine. A few years ago, in my quest to make a plain home more beautiful, I learned how to garden. I read books, researched online, talked to other gardeners, and started getting my hands dirty and planting seeds.
Our little flower garden in California turned out so nice. I was an English major in college and I've always loved English gardens. My goal was to achieve something similar, not exactly an English garden, but something like it.
Now as I live all the way up in 5280 (the mile high city) I just haven't been inspired to get the garden going. I'm seeing all the beautiful flowers taking over my hardware stores, but still don't have the desire to get out there and dig.
I decided to start small in hopes that motivation would follow. Maybe painting flower boxes would inspire me to get a few flowers going. I chose these boxes which have been sitting in my backyard. They obviously needed a little something.


Yes, I'm inspired and will be out this weekend looking at flowers. This was an easy and quick project. It took me about two hours total since I used spray paint, but I was doing a few other things while working on them- you know the normal cooking, cleaning, schooling the kids- all good stuff.
My favorite part about these was they were FREE since I had all the paint sitting in my garage. I like Free!
I hope you all have a wonderful weekend, friends! I plan to enjoy the outdoors with my family and cook as little as possible. We'll see how that goes!
Well, here we are in the middle of Spring and the flowers are blooming everywhere! I love it. The grass is green, the sun shines down upon us daily now, and Summer is just around the corner.
I've never been much of a gardener. I grew up in the "concrete jungles" of Los Angeles and as long as there was green grass and sandy beaches, life was fine. A few years ago, in my quest to make a plain home more beautiful, I learned how to garden. I read books, researched online, talked to other gardeners, and started getting my hands dirty and planting seeds.
Our little flower garden in California turned out so nice. I was an English major in college and I've always loved English gardens. My goal was to achieve something similar, not exactly an English garden, but something like it.
Now as I live all the way up in 5280 (the mile high city) I just haven't been inspired to get the garden going. I'm seeing all the beautiful flowers taking over my hardware stores, but still don't have the desire to get out there and dig.
I decided to start small in hopes that motivation would follow. Maybe painting flower boxes would inspire me to get a few flowers going. I chose these boxes which have been sitting in my backyard. They obviously needed a little something.

I painted and two hours later had what I hoped for. Bring on the flowers!

This was a simple project. I spray painted the boxes green

I had this Eden color that I didn't like for any of my other projects. For this project, the color was perfect!

I made the simple stripe designs by using painter's tape.

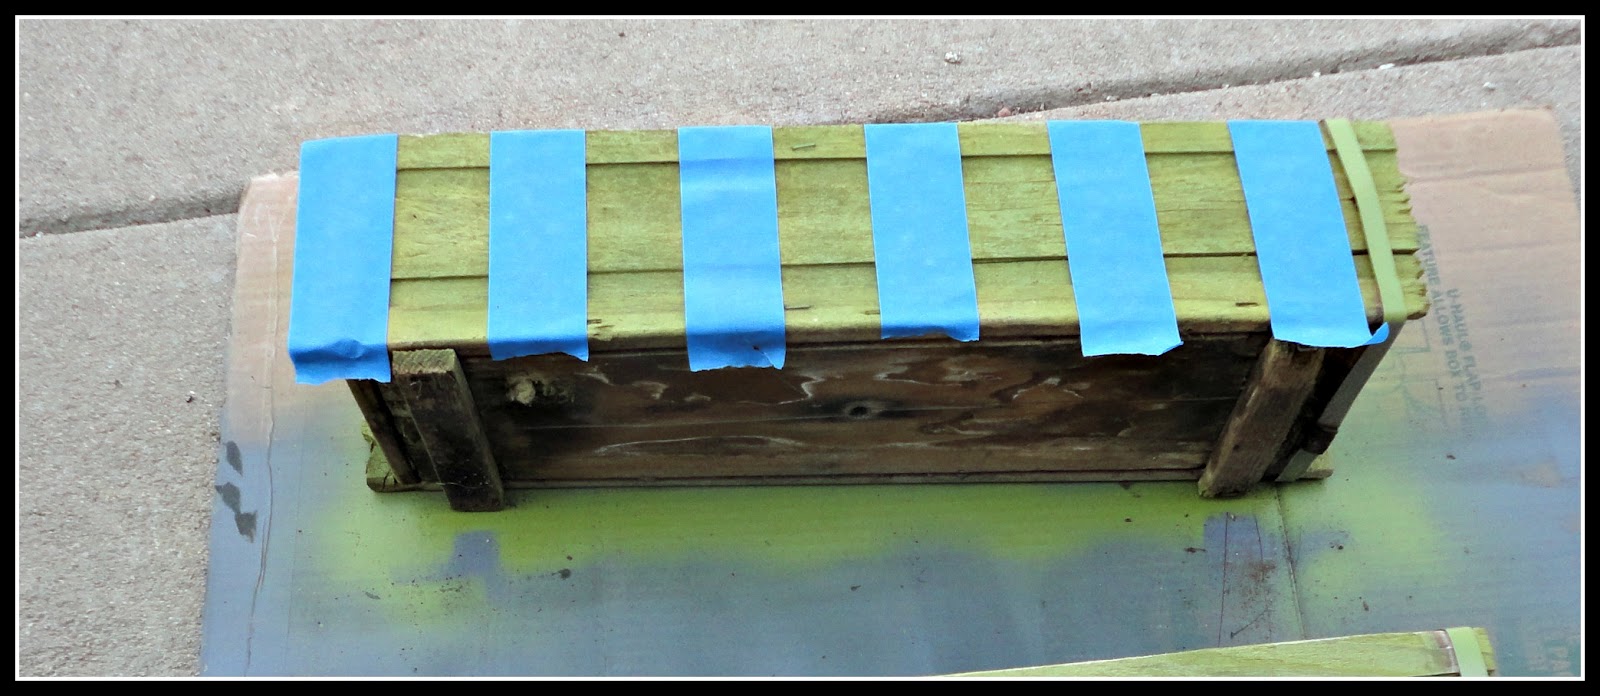

I also had this Royal Blue color on hand by Valspar. The blue and green together brightened up those miserable boxes and turned them cheery.

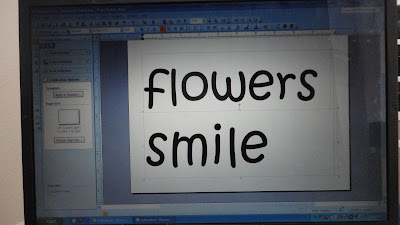
Then I decided to paint words on the boxes, but since I don't have large stencils or a cricut I decided to use this method I used here. I printed out the words on regular copy paper.
My font was called "kristen" in 200

Place the paper on your wood and with a pencil, push hard and trace the letters.

You can see the trace outline here. Of course, maybe you can manage to keep your letters straight, unlike mine.

Fill in the letters with paint using an artist's brush and the boxes are complete.

I picked the only flowers growing in my yard and placed them in some old mason jars.

I think they'll make a cute outdoor centerpiece, with more flowers and larger jars of course.

Before

After.

Yes, I'm inspired and will be out this weekend looking at flowers. This was an easy and quick project. It took me about two hours total since I used spray paint, but I was doing a few other things while working on them- you know the normal cooking, cleaning, schooling the kids- all good stuff.
My favorite part about these was they were FREE since I had all the paint sitting in my garage. I like Free!
I hope you all have a wonderful weekend, friends! I plan to enjoy the outdoors with my family and cook as little as possible. We'll see how that goes!
Blessings,
Lisa
I link all my projects with some wonderful blogs. To visit them, go to the {Link Party Love} page found at the top of this page on the {Home} bar.
Also linking to:
Savvy Southern Style
No Minimalist Here
The Shabby Creek Cottage
Saved by Love Creations
Miss Mustard Seed
Funky Junk Interiors
Coastal Charm
Tip Junkie
Comments
Post a Comment